
Business Central Reminder Automation Feature
Learn about the new reminder automation feature in Business Central release 24 wave 1 that helps streamline receivables. Automate reminders per reminder term for efficient receivables management.
8/24/20242 min read
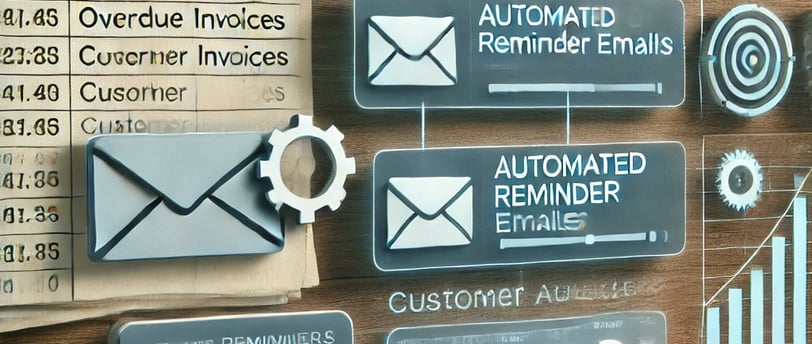

Automate the reminders process in collections (Receivables)
In the 2024 Release Wave 1 for Dynamics 365 Business Central, Microsoft introduced significant improvements to the collections process, particularly by automating the reminders process. This new feature simplifies how businesses manage overdue invoices, streamlining the entire collections workflow and ensuring timely communication with customers regarding outstanding payments.
Step 1: Setting Up Reminder Terms
Reminder Terms form the foundation of the automation process. These terms define when reminders will be triggered and sent to customers based on overdue invoices.
How to Configure Reminder Terms:
Search for "Reminder Terms" in the Business Central search bar.
On the Reminder Terms page, click on New to create a new set of reminder terms.
Define Reminder Levels: Each level represents a stage in the overdue period. For example:
Level 1: First reminder sent after 7 days overdue.
Level 2: Second reminder sent after 14 days overdue.
Level 3: Final reminder sent after 30 days overdue, possibly with a late fee or interest.
Grace Periods: You can define grace periods to delay sending reminders until a certain period has passed.
Interest or Fees: Optionally, you can set up late fees or interest to be applied to invoices at certain levels.
Example:
Let’s say you want to send the first reminder 10 days after an invoice is overdue and apply a late fee if the invoice is overdue by 30 days. You’d set Level 1 to trigger on day 10 and Level 3 to include the late fee on day 30.
Step 2: Creating Customer Communication
Business Central allows you to automate the content of reminder emails by using templates for different reminder levels. Each reminder level can have its own template with specific subject lines, body text, and tone.
How to Set Up Reminder Email Templates:
Search for "Reminder Team" and navigate to the any pre-existing reminder.
Select the reminder level you want to create a template for (e.g., Level 1, Level 2, Final Reminder) and navigate to customer communication.
Configure the Email Content:
Subject Line: Use clear and direct subject lines. For example: "Reminder: Your Invoice Is Overdue".
Body Text: Use Business Central’s dynamic placeholders (e.g., %CustomerName%, %InvoiceAmount%, %DueDate%) to personalize the content. This allows the system to automatically fill in the relevant customer and invoice details for each email.
Customize the tone for each reminder level. For example:
First Reminder: “Dear [Customer], your invoice #[InvoiceNo] for [Amount] is overdue by [Days] days. Please arrange payment as soon as possible.”
Final Reminder: “This is a final reminder for the overdue invoice #[InvoiceNo] amounting to [Amount]. Immediate payment is required to avoid further action.”
Step 3: Automating the Reminder Issuance and Sending
Once the reminder terms and email templates are in place, it’s time to activate the automation.
How to Automate the Issuance and Sending Process:
Search for "Reminder Automation" and select new.
Enter the code for reminder automation, you can create different reminder automation for different reminder terms by setting up a reminder term filter.
Batch Job Scheduling: You can set up a batch job that runs daily to check for overdue invoices and trigger the reminders accordingly.
You can setup three jobs i.e. create reminder, issue reminder & send reminder.
Once done, the reminders will be created, issued and sent automatically.
The reminder status can be tracked in 'Account receivable administrator' role center by checking the reminder cues.
You can check the reminder automation feature in Microsoft release documentation here.


MELBOURNE
Suite 1, Level 4/ 365 Little Collins St, Melbourne VIC 3000
(03) 853 541 27
Hello@innovante.co
APPLICATIONS
SOLUTIONS
Licensing